Showing posts with label Mrs Fox Makes. Show all posts

Advent Calendars

Advent Calendar

Well, happy first day of winter.  And did you have your advent calendar ready?  Or, like me, where you up to the wee small hours sticking chocolates into little packages.  

I say Advent Calendars (plural) as I have made a number of them this year.  My Little Foxes school's Christmas Bazaar was on the weekend and I was in charge of the craft stall.  As a result I have made 6 advent calendars, 5 for sale (and they sold - Phew!) and one for Little Una and Little Louis Fox. 

The picture above is not my children's calendar, but one that was sold.  I really thought that this one turned out well, so, I thought I would share how I made it.


YOU WILL NEED:
A piece of wood, approx 1m long
24 or 25 pegs
24 or 25 envelopes
garden twine, approx 120cm
2 screws
coloured paper 
glue gun, scissors, numbers

I used a piece of architrave left over from decorating the back sitting room, but you could use any piece of wood at least 10cm or so wide and approx 100cm long.  First paint the architrave, I used pale green emulsion left over from decorating the boot room.  I like to re-cycle as you know.

Then I glued thin strips of paper, the same width, onto each of the pegs.  While these were drying I turned my attention to the envelopes.  

I printed out a set of FREE advent tags from the lovely Rebecca's blog simpleasthat, she has more FREE printables and beautiful and inspiring family photography ideas.  Envelopes were decorated with the same paper used on the pegs, and a number added to each. 


Once dry the pegs were stuck onto the architrave, equally spaced apart, using my hot glue gun.  I added two screws to the back of the wood and tied on the garden twine.

I filled each envelope with chocolate.  You could of course put a little gift in there instead, but I don't give my kid's sweets as a rule so I let them indulge a little at Christmas.  Then, starting with the last number in your advent I pegged each envelope to the wood. Ta Da - Done!

My friend Ann and I have debated if there should be 24 or 25 treats on the advent calendar.  Advent is after all the countdown to Christmas, you get your presents on Christmas day.  What do you think?
And below is the advent calendar I made for my Little Foxes, with Brian the Elf who always arrives along with the calendar.


As Chief Craft Elf for our school's Christmas Bazaar, I looked at a fair few ideas for advent calendars, here are some of my favourites.


Follow on Bloglovin
0

Evie & Rex Paper Dolls


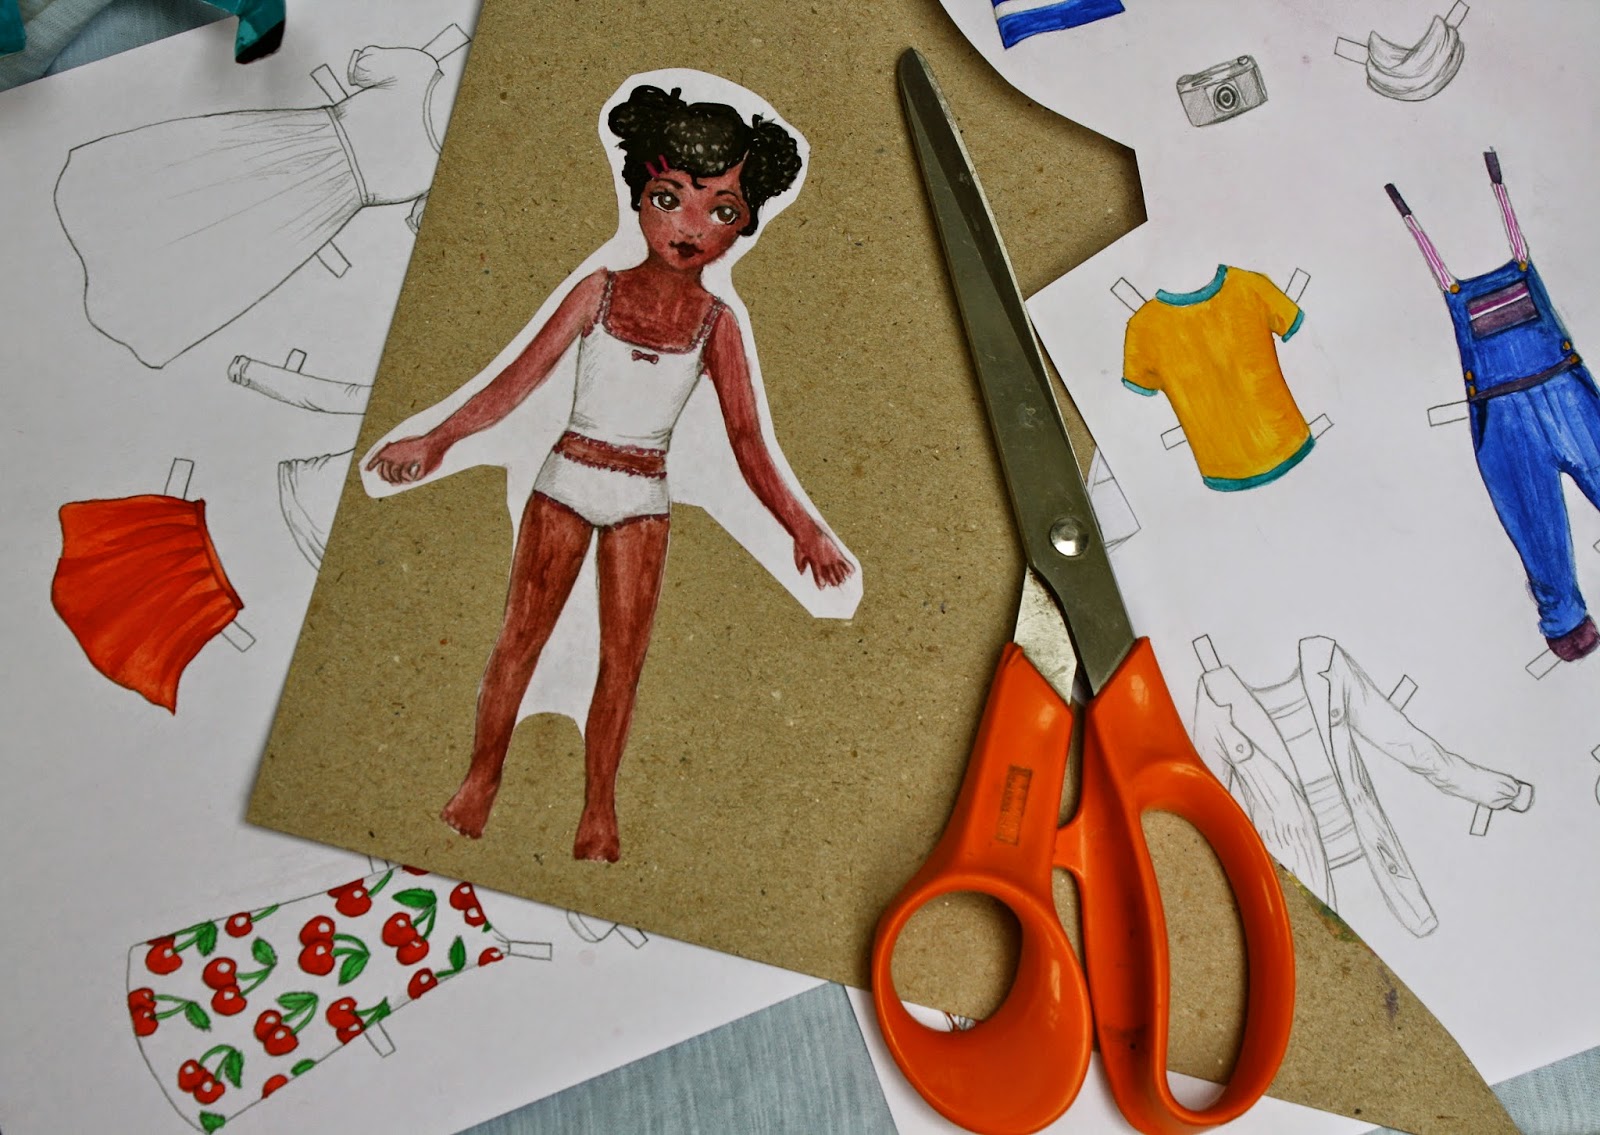
A few weeks ago we were approached by the lovely people at Folksy's blog to contribute to their summer holiday children's craft tutorials. The little foxes and I had had such a good time last school holidays making paper dolls from Sweet Paul's website, that I fancied designing a paper doll for Mrs Fox's.

So here are Evie & Rex in paper:


Their design is a mash up of Evie and Rex our handmade dolls that we sell on Folksy, my beautiful little girl Una May and her dog Bea. If you'd like to make your own you can download the template from Folksy, paint cut out and play.  Super simple to make, great for the school holidays.


All You Will Need is:
paper & card
scissors
glue
paint, coloured pencils or pens

1.  Download the PDF (2 pages; Evie & Rex and one page of her clothes) print onto white paper.

2.  Colour Evie, her friend Rex the dog and her clothes however you wish.

3.  To make Evie and Rex stand up, glue then onto card - you can use an old cereal box it’s the right thickness.  Leave a strip of card about 3cm wide at the bottom that you can fold into a stand - see below:

TIP:  I cut Evie out roughly first, leaving 1/2cm of white paper around the edge.  Then I glued her to the card.  Once she'd dried I cut her out again, this time trimming right up to the edge of the doll. 

4.  Cut out Evie’s clothes and fold the tabs over the edge of the doll to dress her.  Have fun designing and making your own outfits for Evie.


Making the paper Evie has also fed into the design process of the party gang cloth dolls which are about to go through a bit of a makeover.  Just as soon the school holidays are over!

All our designs are entirely our own so please leave a comment below if you do decide to download them - we just love a little love!

Follow on Bloglovin
0

Last Day of Half Term is Paper Craft Day!

kids crafting

"Craft day please mummy!" was the cry of my little foxes when I asked them what they'd like to do yesterday, the last day of half term.

I'm in the midsts of a bit of a project in the studio, so it's a mess and that's where most of the craft stuff lives.  But, at a clear out at my mum's some months ago I found an old art box of mine from when I was a kid.

1980s kids paint box

My little foxes have done most of Mrs Fox's crafts 100 times already and they wanted something new. So, I decided to look online for some other paper crafts that could be downloaded and printed out.  I wanted something that we could do at the kitchen table, that required no more than scissors, glue and the paints from my old art box.

We came up with, four projects from craft blogs and online sites (follow the links if you fancy having a go yourself); we spent the whole day doing these - wonderful day!  Here they all are:


A Paper Doll
 

from Sweet Paul


London Paper Doll by Lova Blåvarg
We made the London paper doll by Lova Blåvarg. Two A sheets of doll, clothes and props.  London could be a boy or girl, s/he is beautiful, and I have to admit I printed one for me to paint and make up too.  We also downloaded Brooklyn, Lova's other paper doll, for a bit of craftyness today.

Brooklyn Paper Doll by Lova Blåvarg
I remember making paper dolls as a child, and had as much fun doing this one as I ever remember as a kid.  We mounted the doll onto some card and created a stand for her.  This was my favourite of our projects.

Big Ben printable from Paper Toys

Big Ben 
from Paper Toys


Louis' been building a lot just recently so he wanted to make a tower.  On the same site you can download a London taxi and double decker bus which we didn't get round to making.  They print out quite small so you need to scale them up before printing.  But this was Louis' favourite and I've since had to draw him a number of "castles" to paint or colour in too.

Bird Finger Puppets 
from Mr Printable


I LOVE Mr Printable's site.  I have it book marked for a rainy day.  Everything they do is beautiful and this was the easiest project we did, although his beak got a little squished.  You can make 4 birds from this download.  The flamingo is a little too big to fit on small fingers but that just means mummy gets to keep one.  The toucan also conveniently fitted into Una's half-term homework project on Brazil.

Mrs Fox's Articulated Paper Unicorn


Ok, for this one you also need paper fasteners, or you can use pieces of wool or string knotted on either side of the legs.  The children have done them before, but it's one of Una's fav so I printed them out and we made a few more to add to our collection.  I've uploaded one to our website for you to download too.  RIGHT HERE.

Print as many as you like, but please only for personal use.  Drop a comment in the box if you download them, we love to know they're loved.  And if you want to share the love and link to them, please link to this page rather than the PDF itself. Thanks xxx

So, what did you get up to this half term?
0

Handmade Christmas Cards - Part Two

The first Christmas Card shows a scene of a family raising a toast to the Holiday Season
Our modern Christmas cards can be traced to a card printed in December 1843 by Sir Henry Cole, the first Director of theV&A.  Sir Henry found it time consuming to write greetings and best wishes to all his friends and family at Christmas and so he commissioned John Callcott Horsley to illustrate a card with a single greeting: 'A Merry Christmas and A Happy New Year To You".  Sir Henry had also been involved in the introduction of the penny post in the UK three years before so he had something of a vested interest in the success of this new form of holiday communications.  His print run of 2050 cards sold for a shilling each (a weeks wages) and only 12 of these cards remain today.


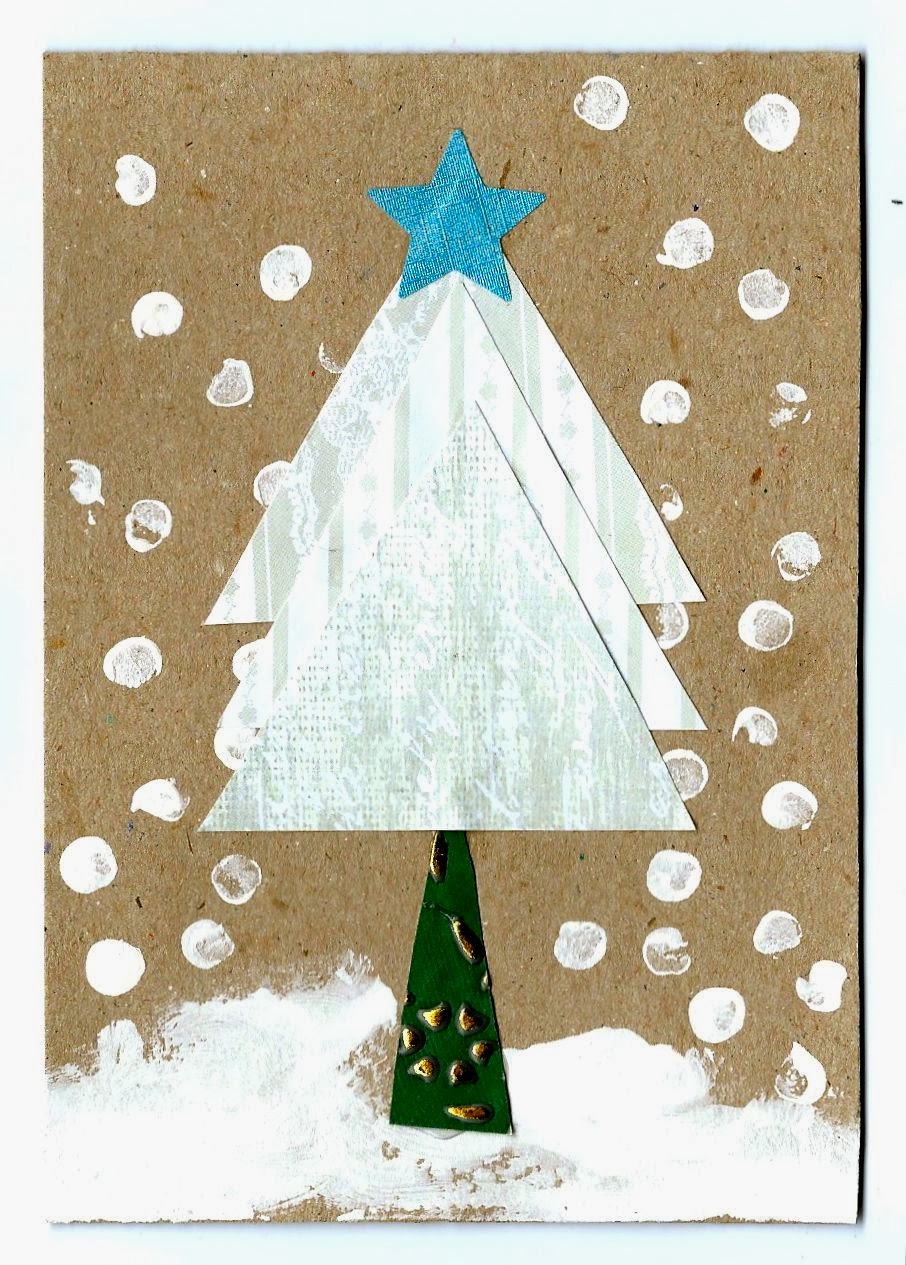
We of course love the hand-made variety.  For the last few weeks we have been churning out hand-made Christmas cards at a phenomenal rate. The exchanging of Christmas cards can also be traced back to the "Christmas Pieces" made by children in the early 18th century.   Children copied out texts at school in their best hand writing and decorated them to give to their parents.  Intended to show parents how well their children were doing at school, these are some of the earliest examples of children's art.

Very much in that tradition Little Una Fox used her new sewing skills to create this lovely card for her Uncle David in Canada:


You Will Need:
5 or 6 different buttons
needle & thread
card & envelope
pencil, pen &/or  letter stamps

Instructions:
We first wrote "Merry Christmas" along the bottom of the card - we used our letter stamps but you can simply write this in colourful letters in your best hand writing.

We decided where the buttons would go and then drew the lines and bows onto the card in pencil first to get the spacing right.  Then went over this in black pen.

We then carefully, with needle and thread, sewed each button into position with just a couple of stitches, knotting the ends of the thread at the end.


Last month's Mrs Fox's Crafty Box contained card blanks and envelopes so that our crafty little foxes could make Christmas cards for friends and family.  They are also included in our Bumper Christmas Crafty Box that includes a whole host of Christmas crafts and is available for £15 +p&p.

The little foxes came up with so many designs for Christmas cards that we've been posting all last week with ideas for hand-made Christmas cards, we’ve also put together the best of other people’s ideas on a board on our pinterest site.  So with oodles of inspiration at the click of a mouse, we would love you to send us some pictures of your creations, we could add them to the gallery.


For loads more Christmas craft ideas including more designs for handmade Christmas cards CLICK HERE
0

Handmade Christmas Cards - Part One


This month the first of our Christmas Craft Boxes go out.  They contain; child friendly craft kits including materials and instructions to make;
6 hand-made Christmas cards,
2 Christmas trivets,
pom poms,
hand-made gift boxes,
concertina Christmas trees,
and a Father Christmas from a loo roll.
There is also a recipe for Christmas ginger cookies.

So, this November's Crafty box is filled with things to make for others and the hand-made Christmas cards have really caught our imaginations and that of our little foxes too.  It seems that their fascination is to be the expected, in fact Nina Fox has been telling me of her discovery on the origins of Christmas cards:
"Our modern day Christmas cards were almost certainly based on the 'Christmas Pieces' made by children in the early 18th century.
School children would write affectionate, often rhyming, messages to their families on special paper with an engraved border and then decorate them further before taking or sending them home.  These engraved Christmas papers were designed to show parents how well their children’s handwriting had improved over the past year, and are now rare and extremely sought after examples of children's artwork."
We hope that our suggestions and papers help our crafters to create sets of cards with a cohesive theme where the colours compliment, no matter how different the designs and shapes used are...

Those familiar with us will know that we do our upmost to ensure that everything in our monthly boxes that can be, will be, used somehow within the crafts.  We relish our self set challenge to recycle as much as is possible.  We tell our crafters that anything left over should not be thrown away as it will come in handy for future crafts and November's 'making Christmas cards' craft is a perfect example of how to use up remnants of paper snips too beautiful to have gone directly into the recycling.

If you have any card, thin cardboard, heavy paper or even last year's cards and some wrapping paper, you and your little one's can have fun making all the cards you need this year.  You will be recycling, having fun and reminding people that you think of them and love them, all rolled together in one fun activity.

We will be running a series of posts explaining how we made our designs (see below) with instructions so that you can make beautiful cards using materials you will probably have at home.


For even more ideas check out our "Handmade Cards" pinterest board.

http://www.pinterest.com/mrsfoxs/handmade-christmas-cards/

5

Halloween Craft - Magic Mini Witches & Wizards Hat


We've completely sold out of our Halloween kid's craft boxes here at Mrs Fox's.  In fact we sold out the same day that they went on sale.  So we thought it only fair to share one of our Halloween crafts here on the blog.

Click HERE for a printable version of instructions.

Click HERE for a printable version of templates.


0

Mrs Fox Makes - A Milk Carton Sailing Boat


boy's crafts, crafting with children, crafts, crafty boxes, Mrs Fox Makes, seaside,

Still enthused by the summer weather and this month's Crafty Box theme, the sea, we've made a milk carton sailing boat for some of Little Una Fox's peg people.  Here is how we did it:

boy's crafts, crafting with children, crafts, crafty boxes, Mrs Fox Makes, seaside,

You Will Need:
empty milk carton 
boy's crafts, crafting with children, crafts, crafty boxes, Mrs Fox Makes, seaside, triangle of fabric (approx 24cm x 14cm)
wooden bar-b-q skewer
string, wool or thread
plastacine or blue/white tack
glue
pencil 
paper
paints


Wash out your empty milk carton.  Draw the shape on the right onto the milk carton, cut out the shape and discard.  

If you are using water based poster paints cover the outside of the milk carton with paper you can paint on.  Glue this down and let it dry.

Make a small hole in the boat (see above) behind and to the centre of the shape you have cut out.  Next, in pencil draw a line all the way round the centre of your boat.  From this line draw several more lines between 1cm to 1.5cms from the first line.  

Applying the lightest colours first, paint your boat, painting the lines you have drawn in different complementary colours.  We used a line of washi tape round our boat.   While the paint dries make the mast and rigging.

Fold the longest side of your triangle of fabric over your skewer then glue, or sew this down.  Next tie a double knot in one end of your string and thread the other end through the hole in your boat, pull it until the knot catches.  

Make a little ball of your white tack and secure to the bottom of the boat.   Push the point of the skewer through this into the bottom of the boat.  Then wrap and tie the string tightly to the top of the skewer, cut off any excess.  Add the bunting; cut out diamonds of paper (or washi tape) fold in half and glue over the string to make the rigging. 

Don't forget to name your boat;

boy's crafts, crafting with children, crafts, crafty boxes, Mrs Fox Makes, seaside,

For more great crafts to make around the theme of the sea order one of our Kid's Craft Boxes here. Inside are craft materials and instructions to make a milk carton sailing boat, shell keyring and huge underwater collage with jelly fish, lobsters, turtles, sea horses, fish and octopuss.  Loads to keep your crafty little foxes busy. 
    
0

The Princess And The Pea


One of Little Una Fox's favourite fairy tales is The Princess And The Pea and her favourite version is the one by Lauren Child and Polly Borland.


"'What a beautiful bed', gasped the girl.  'Oh, I am sure I will sleep like a real princess in this bed.'  And up the ladder she climbed. We'll see, thought the queen"


Lauren Child's text is, of course, great but it is her and Polly Borland's illustrations that I really admire.  They remind me of my favourite Fairytale book from my own childhood, which my mother unfortunately did not keep.

Each page was illustrated with posed dolls in 3 dimensional sets.  This is an idea that I keep thinking I would like to try my hand at.  If I ever get around to making the dolls, the sets and taking the pictures it will be a miracle but I am not ruling it out altogether.


Because this is our favourite it was natural, when Mrs Fox's was asked by a friend for a princess themed party for their daughter's 4th birthday, to turn to this tale.  Mrs Fox's created a Hunt the Pea party game, (we made felt peas and pea pods), place mats with the missive; "Give peas a chance" and one of my favourite Mrs Fox's crafts, our Make your Own Sleeping Princess.  This is a craft activity for the party that doubles as a party bag for the little guests to take home, along with a packet of sweet pea seeds.


For the make-your-own sleeping princess craft I attached a patchwork pocket to the front of a natural cotton bag.  Our princess was a blank rag doll each made up with a different hairstyle.  The patchwork pocket on each bag is for the dolls to 'sleep' in.  At the party the children designed their own sleeping princess, with fabric pens.  It was a huge success, and you can see what an impressive party bag it was too.


I made Una her own sleeping princess doll for Christmas that year, you can see her at the top of this post.  I make each of the little foxes at least one Christmas gift each year.

This weekend I was working on updating the, very simple, instructions for this craft as we intend to sell it on our website as one of our crafty boxes.  We even have long-term plans to make two versions, one for children that can sew and could make the patchwork pocket themselves.


While I worked and as we chatted about my old fairytale book and the pictures I remembered from it.  And the usefulness of shoe boxes when creating a four poster bed.  Una began fashioning various items for her own sleeping princess pictured above.  Who seems to have a rather severe case of jaundice!

I just couldn't keep out of it.  I was soon, secateurs in hand, fashioning a ladder and we were picking fabrics to make bedding.  I admit this is a rather niche craft, but, this is how we made the Princess Bed for our sleeping princess.  Just in case you ever have need of such an item!

YOU WILL NEED:


First we decorated the shoe box and it's lid with patterned paper and paint.  While it dried...

We measured the bottom of the box and cut out two rectangles of each of our fabrics to these dimensions.  We used other scraps of fabric as the wadding for our mattresses.  With the wadding between each piece of fabric we sewed round the edges.

The lid of the box is the bed's headboard and to this we attached some netting (off cuts of old net curtains from granny's house) I sewed these onto the lid, you could glue or staple them.

To make the ladder I cut up a thin bamboo cane and tied the steps on with garden twine.

The pea is a green felted ball.  You could just use green felt rolled into a ball or paper scrunched up and painted green.


Our Sleeping Princess Crafty Box is available on our website for a very special price at the moment only £6 +p&p (£4.50). Each Sleeping Princess is unique, with their hairstyles and the patchwork pocket on the bag hand-sewn and so each different from the next.


4
Back to Top