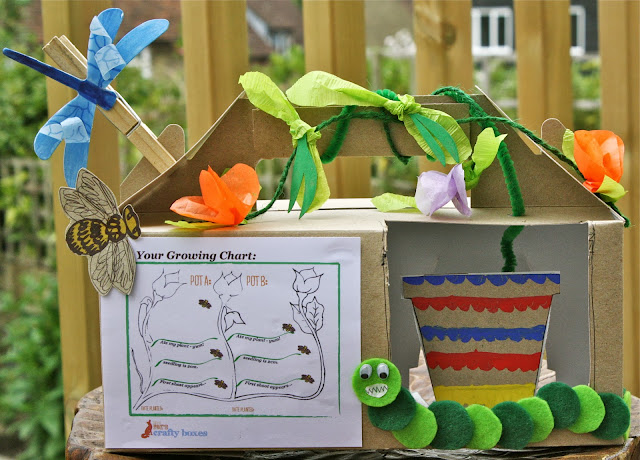
Our third box houses some other crafts involving creatures you might find appearing at this time if the year, those hungry little caterpillars and beautiful dragonflies.
OK - no real reason to mention this on this post but I feel I must also mention a little bee that Nina 'Fox' designed for our third box as I have fallen in love with it and left the studio the other day with one printed on brown paper. I have no idea what to do with it but I just wanted it - so I took it. It was made for the growing chart on the box above but only when it's enlarged can you see how beautiful it is. I made her print them out bigger so that we could add them to the box.
Anyway, I digress (as I often do)... this post is about trees and actual green (though mostly brown with just green finger tips) hands because an additional craft idea for this Crafty Box involved getting a little bit mucky and making some decorative blossom trees. A craft which anyone can do at home using 'household tissue paper'.
For the first Hand Painted Tree:
- On a piece of A4 paper, paint the bottom half-ish pale green and the top half-ish pale blue.
- Put some brown paint onto a plate and with your fingers together, put your hand into the plate or paint your hand with a paintbrush.
- Put the heel of your hand near the bottom of the green half and keeping your fingers firmly together, gently rub your hand up and down very slightly.
- Put your hand back into the paint and this time, spread your hand out and at the top of your brown ‘trunk’ make 3 spanning hand prints.
- Wash your hands and then, using green paint on your finger tips, dot leaves along the ‘branches’.
- Wait for your painted tree to dry.
- When the paint is dry, screw up little pieces of tissue paper (we used tissue paper from a shoe box but you could use toilet paper) and stick them over the branches to create your blossom. We also found some green tissue paper and used it to make scrunchy leaves but any green paper would work.
For the Kitchen roll tree:
- Cut down from one edge of the roll to about a third of the way down.
- Paint the outside of the roll brown and the inside of the cut parts and then fan them out and down.
- When the paint is dry, use green paint to colour any parts the brown paint missed.
- Stick on scrunched up balls of tissue paper to produce blossom.
Tom, 4 last week & Eve, almost 6, both each did just one of these crafts but they were both impressed by each others work and wanted to have a go at making a tree the other way. They needed no help with this at all, from painting to scrunching to sticking, which was refreshing for a change.
Eve was full of compliments, 'Tom's tree looks just like a real tree! I want to make one too.'


Ah ha, that is where that Bee went to Mrs J Fox!
ReplyDelete